User management
Adding Users to Quest system
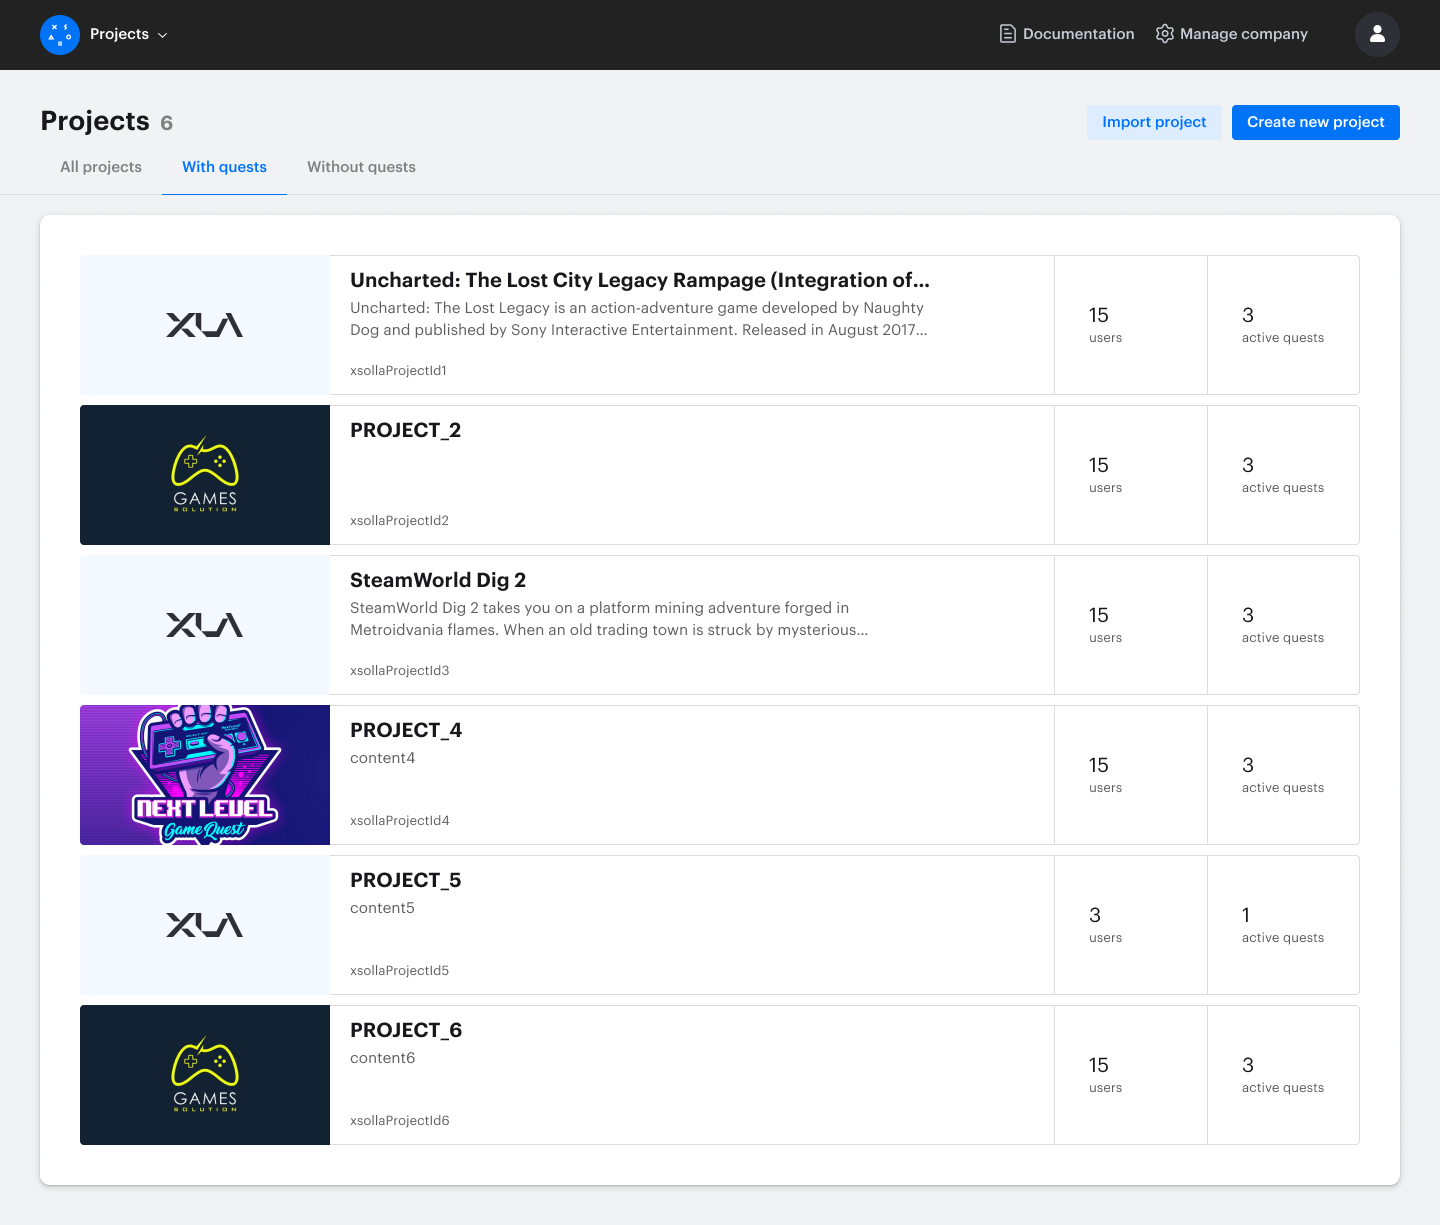
Step 1: Select project to add user
From the project list, select and click on the project for which you want to add a user. If you don't have a project, you need to create and set it up.
Step 2: Go to the Users list page
In the left menu on the project page, click on the "Users" menu item to view the Users list page.
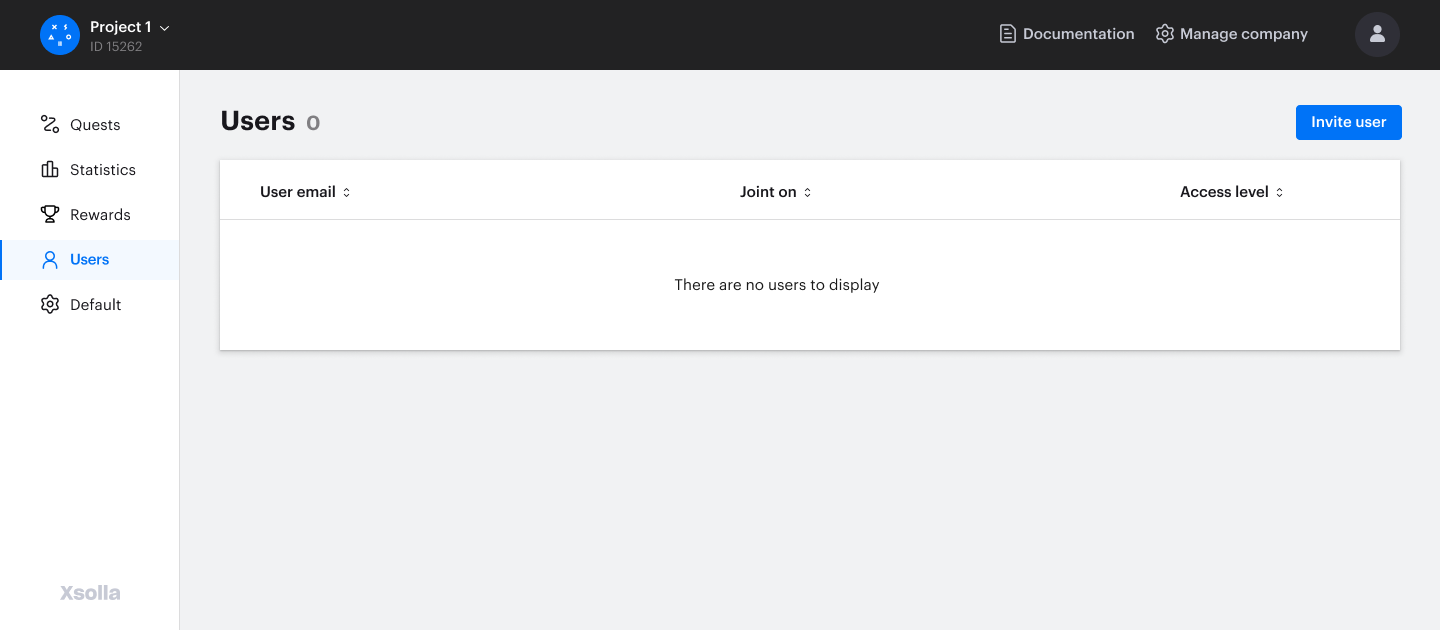
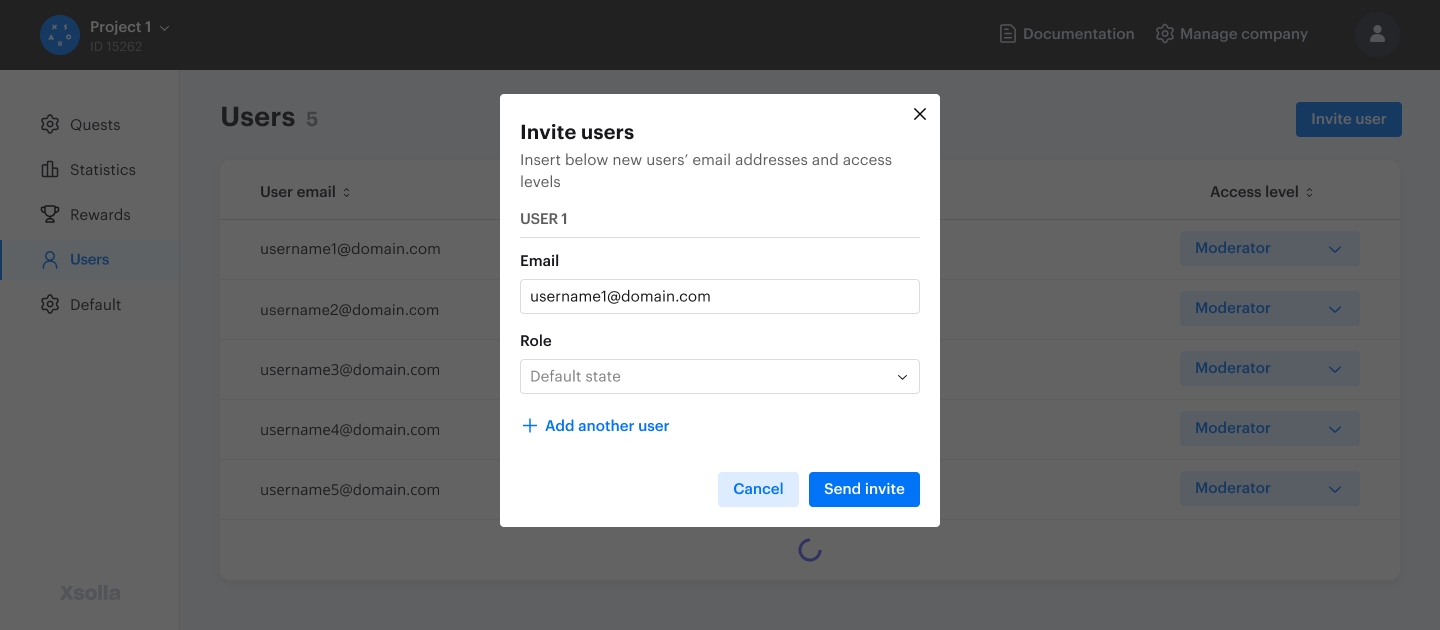
Step 3: Invite user
On the Users list page, click the "Invite user" button. And fill the Form. Specify the email address of the user you want to invite and their role in the project. There is an option to invite multiple users by specifying their email addresses and roles in the project.
Step 4: Confirming email
After successfully submitting the invitation form, the invited users will receive an email with a one-time link to the password input form. After successfully confirming their email, the user will be able to authenticate and work with the quests system.

User Management for the Company
Only a user with the Owner role can manage all users of the company.
Step 1: Go to Manage company menu
Click on the top right menu item "Managment company" to view the Company users list
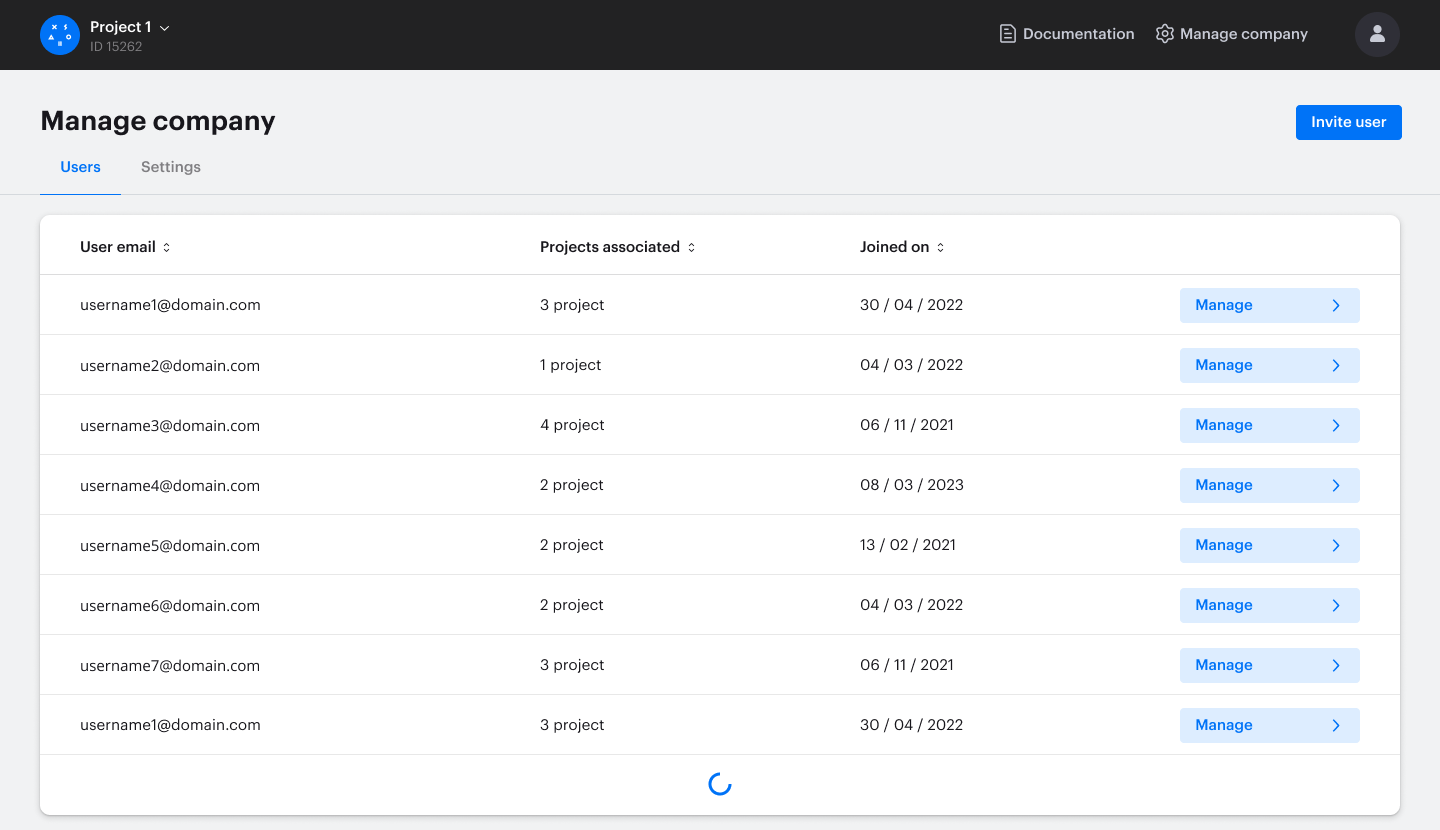
Step 2: Select a user for management
On the users list page click on Manage button to view all projects associated with the selected user
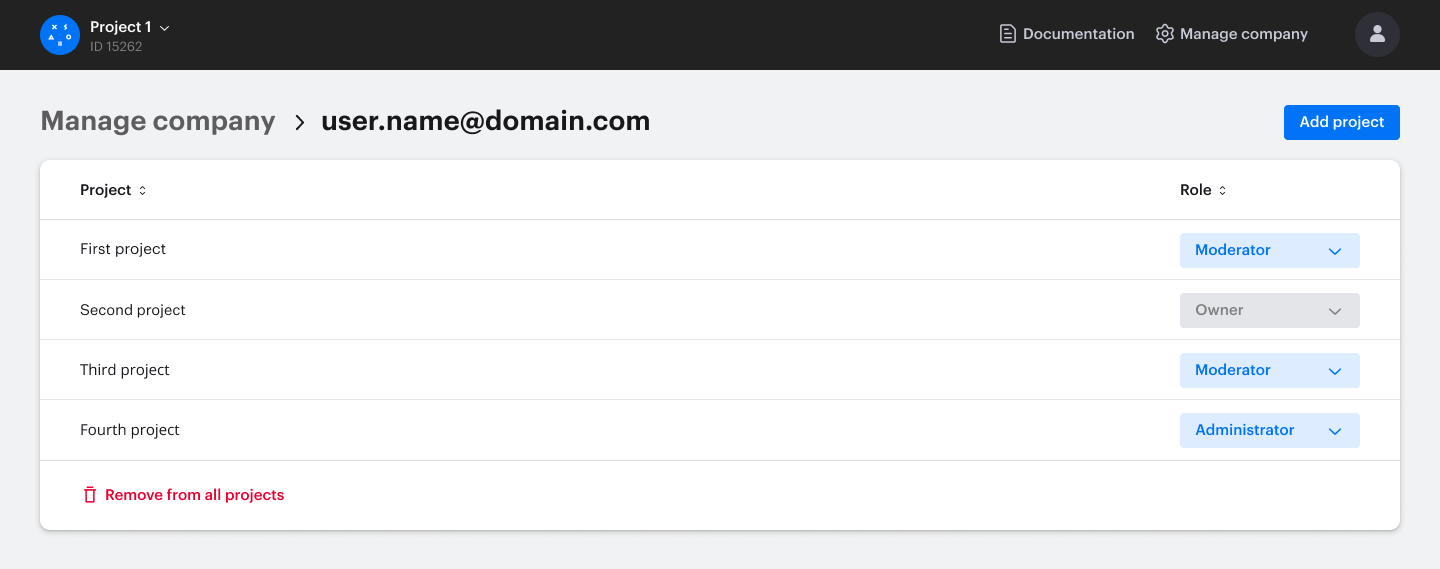
Step 3: Edit the association of a user with a project or their role
On the user editing page, you can:
- Remove or add the user from/to a project
- Remove user from all projects
- Add user to a some project or projects